Decals on with body clear coated.
Starting to do final assembly.


Body is painted with a first layer of Mr Super Clear to protect the Tamiya acrylic paint.
I started with Metallic Grey and added gloss black to darken to the right color.
The included masking templates are great and easy to use but we will see after I apply the red stripe how close I got to the right positioning!
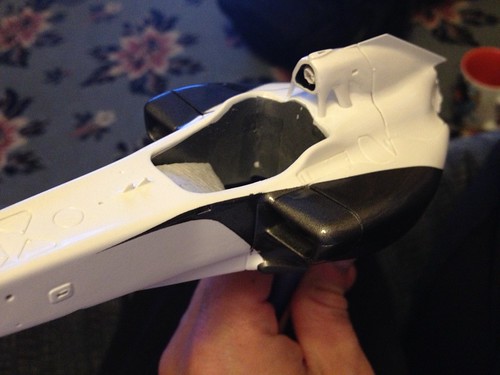
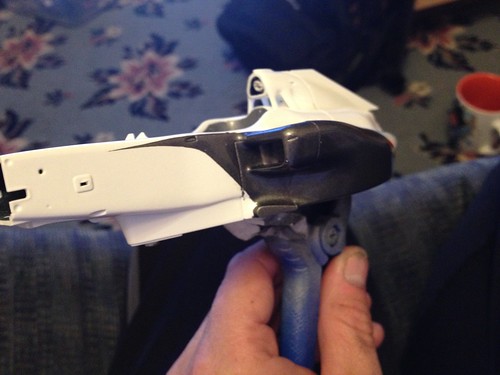
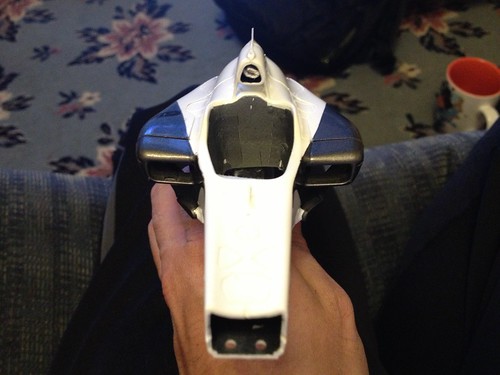
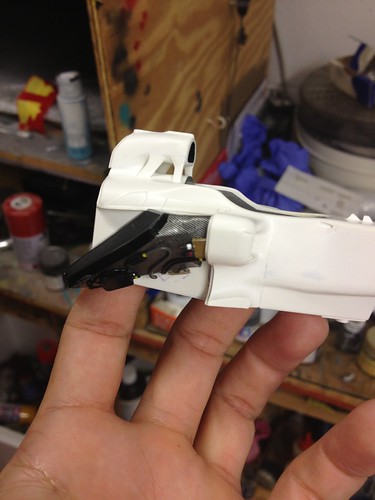
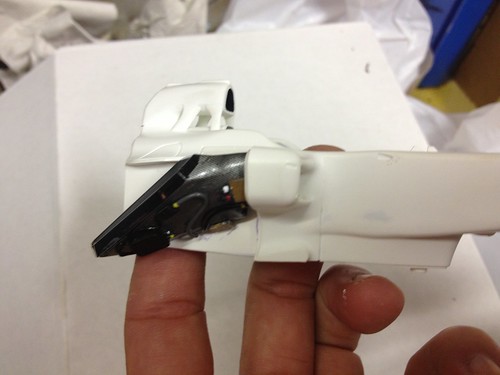
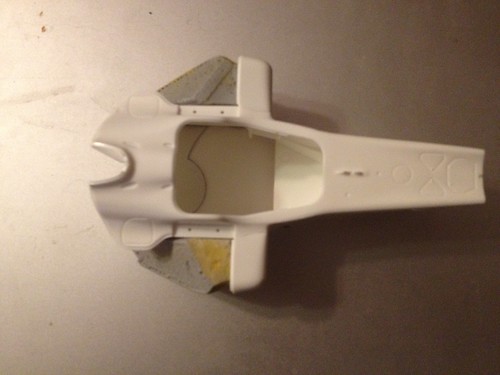
Again the kit will be displayed with the nosecone and engine cowling off so I'm also trying to figure out how to build the stands they use on the car.
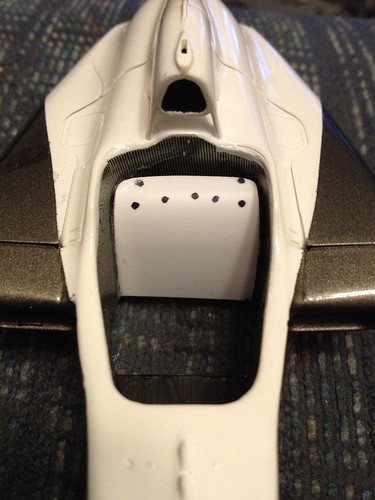
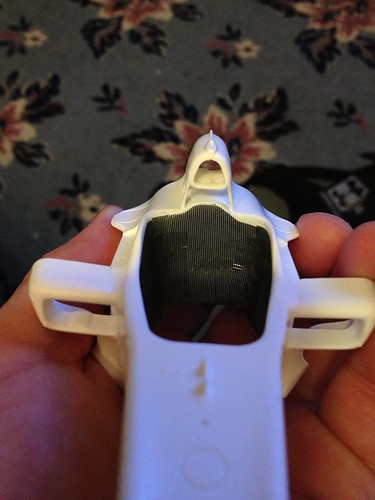
The last picture you can see I decided to build out the cockpit a bit more based on a picture I found this weekend. Next are the decals and working on the nose section that will be exposed.
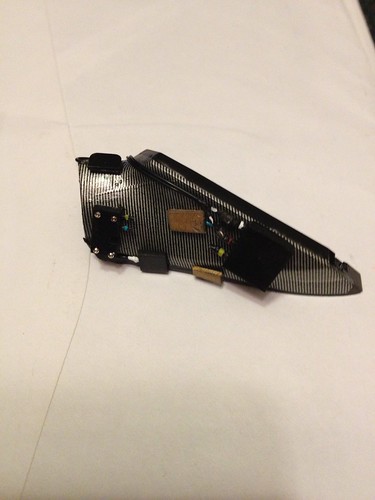
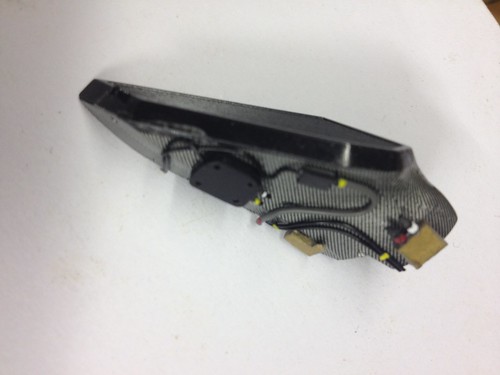
Here is the left side radiator with all the bits added.
There will some additional plumbing added and the face polished with Chrome Powder.
The next bit of scratchbuilding will be the front of the suspension area.
This weekend I will paint the body and begin the decal process.
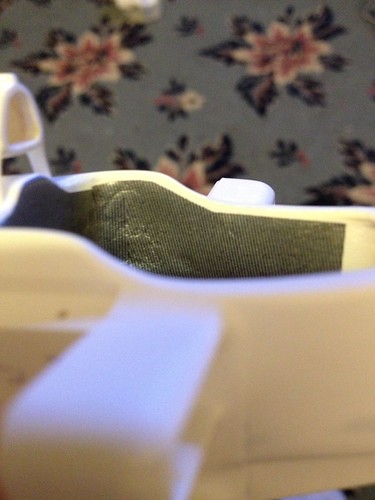
The cockpit has been cleaned and painted followed by Carbon Fiber Decals.
I'm going to display the car as being built prior to the first practice of a race.
There will be some wires and plumbing attached and some missing along with a engine block attached with no transmission.
Not many photos the C30 "naked" so I am using other cars as my guide.
Top Studio electronic connectors are used on the radiators.
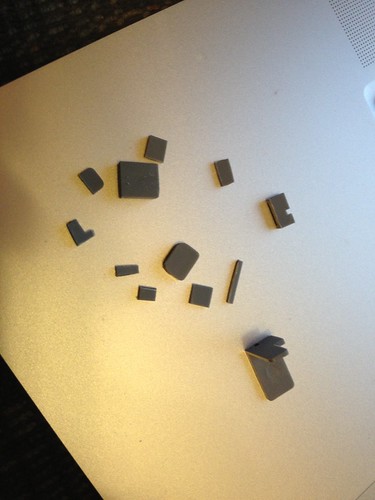
The Electronics are pieces of a spare military kit sanded and shaped.
Foil will be used to create the mounting straps for each piece and a Chrome polish used on the radiator faces.

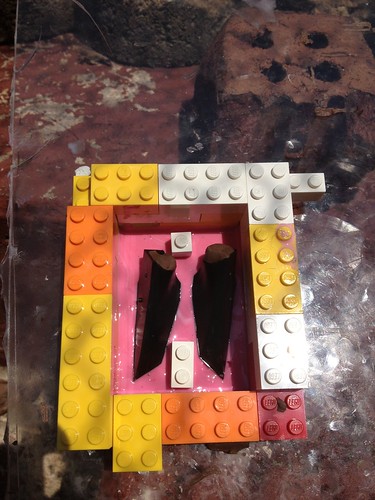
Small update
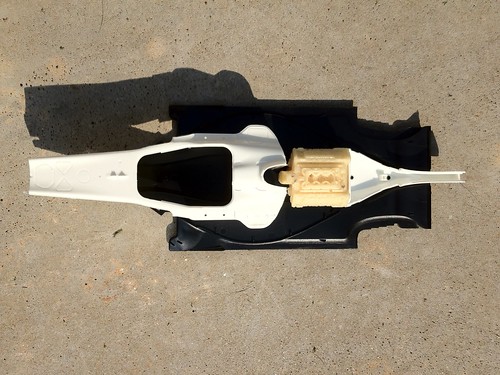
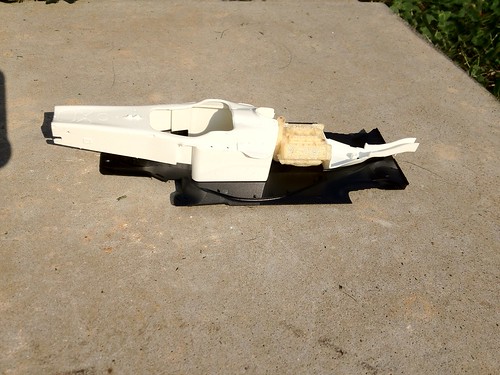
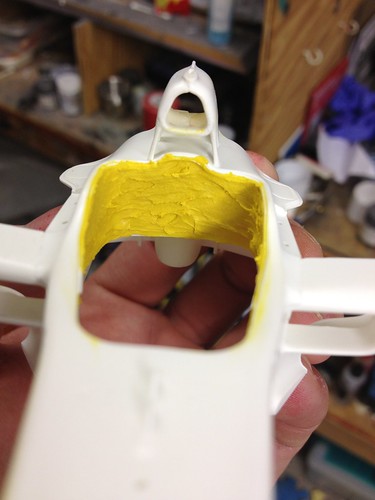
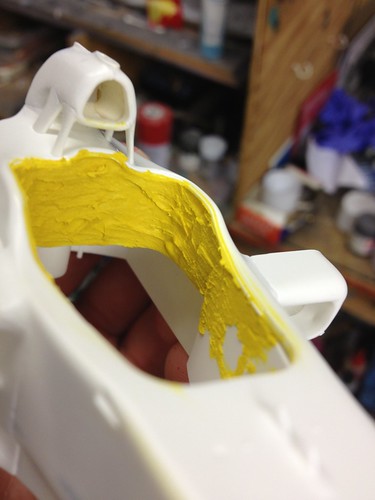
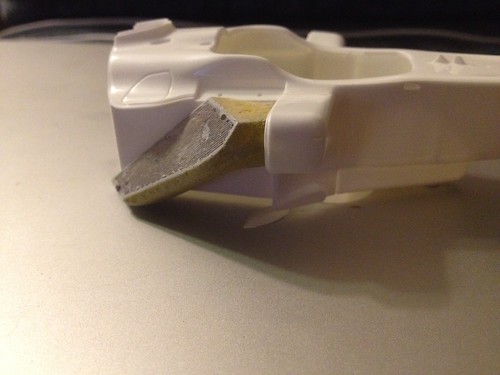
The resin needed cleaned and filled in with putty a second time before the shape was reworked again.
I'm going to use the Top Studio electronic connectors on the underside of the radiators and display the model with the floorboard off like the car is being prepared for the race weekend.
The nose will also be off the car so research has started on that as well.


 Leia Mais…
2011 Sauber C30Manufacturer: FujimiInformation: Plastic
Paint: Tamiya lacquer / Tamiya acrylics / Krylon / Finishers
Aftermarket Parts: Resin Copy of F10 Engine / Carbon Fiber DecalPhotos:Flickr Photo Set
This kit was started by making a copy of the Ferrari F10 Engine.The rest of the internal parts will be made from scratch.