Saturday, January 31, 2009

Nico's Williams FW30 Part 3

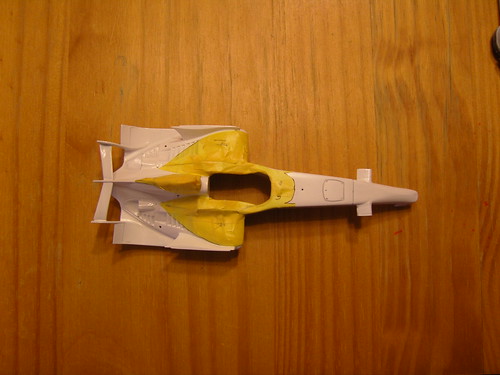
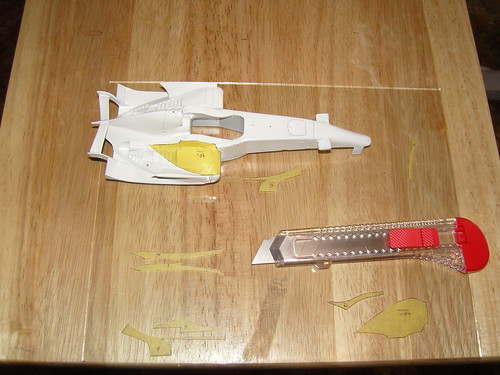
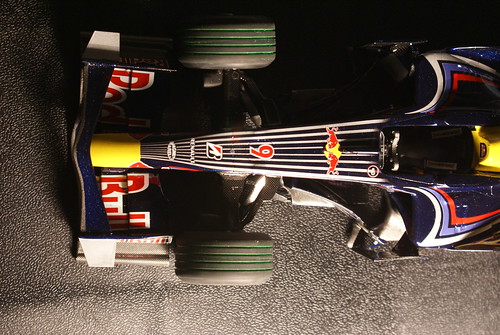
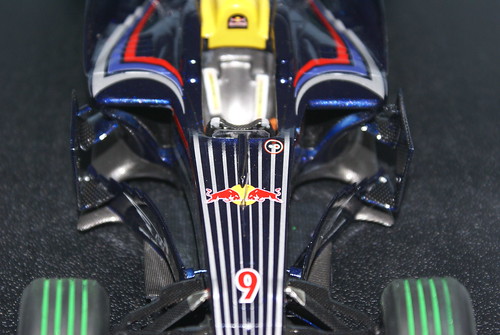
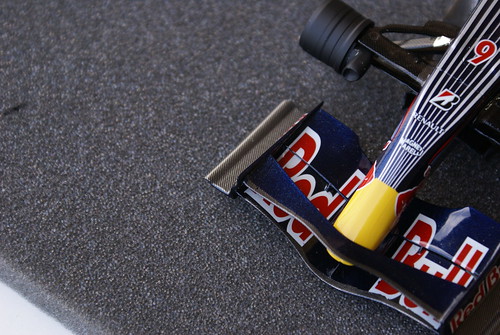
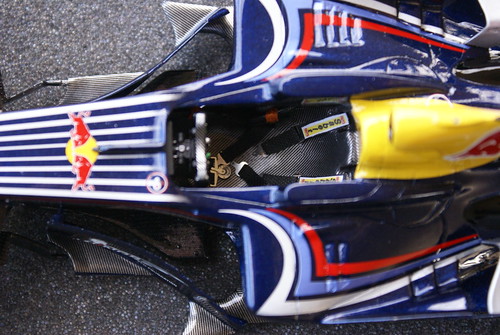
  1. Started out by using some Tamiya tape to trace the white decals.
  2. These were placed on a piece of glass and cut out, the correct decal number is written on each masking piece.
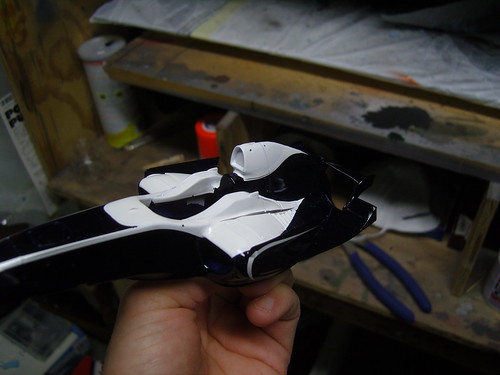
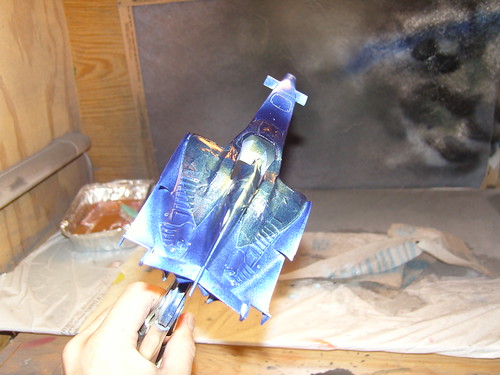
  3. Tamiya TS-55 was shot from a warmed can in light coats to build up and prevent as much getting under the tape
  4. A final heavy coat was put on after an hour of letting the light coats dry.
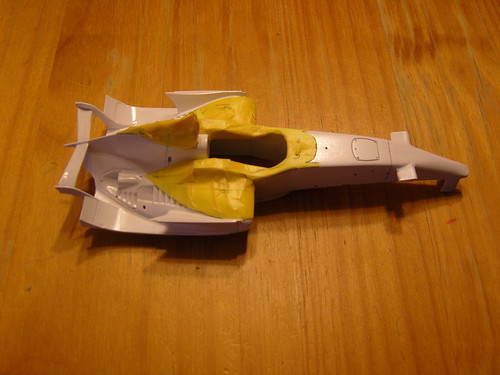
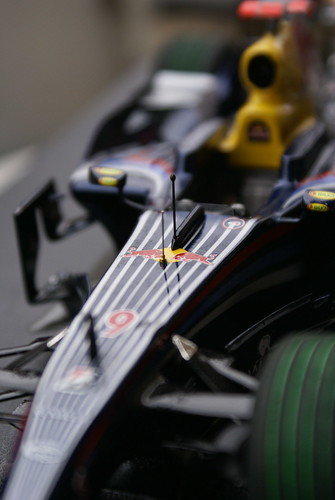
  5. Tape was removed and the blue to white transition was wet sanded with 2000 grit 3M paper.
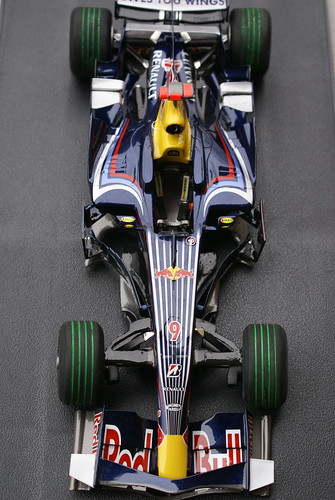
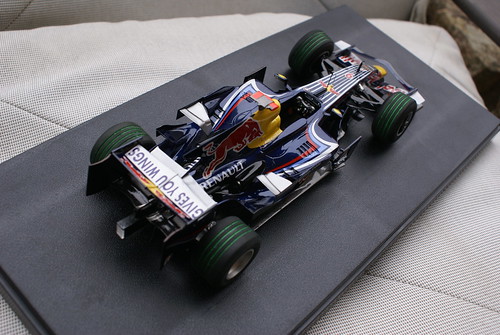
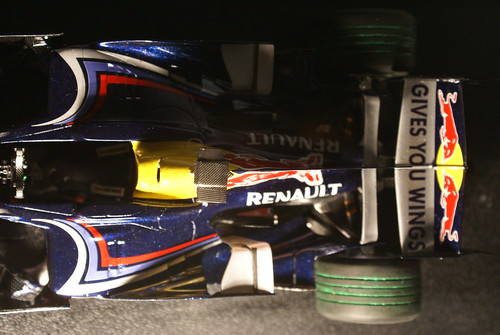
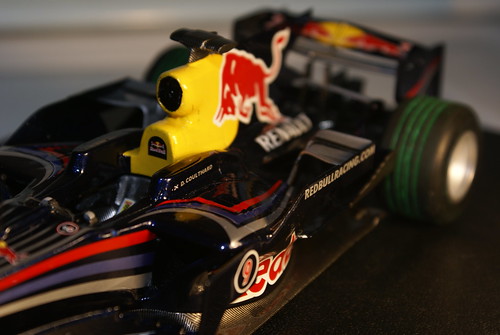
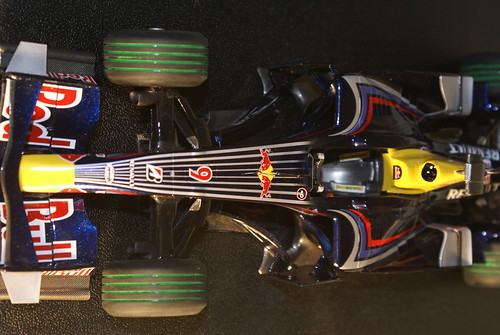
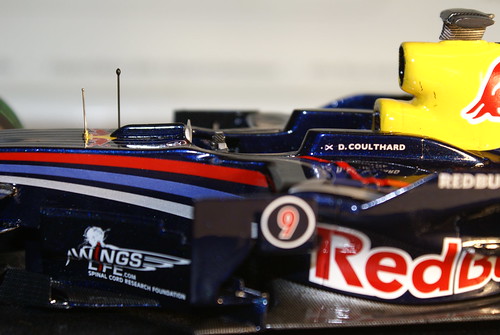
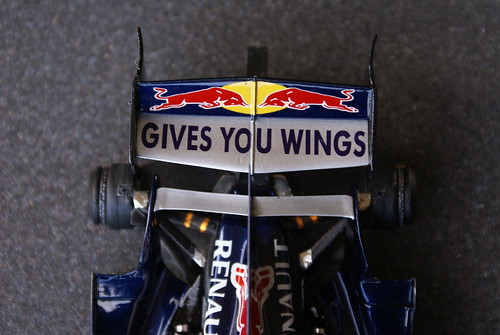
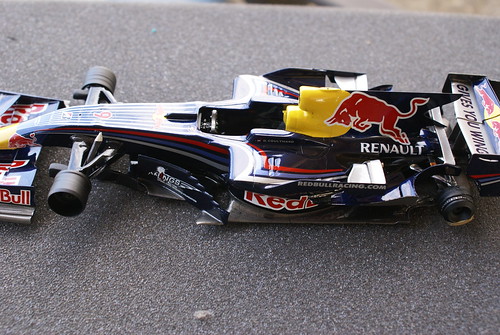
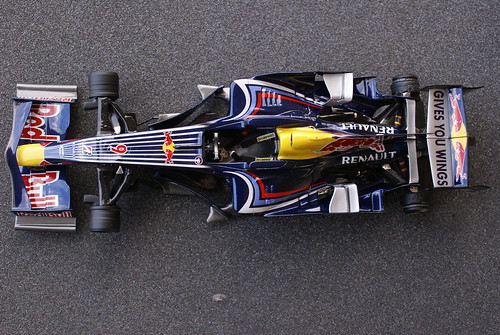
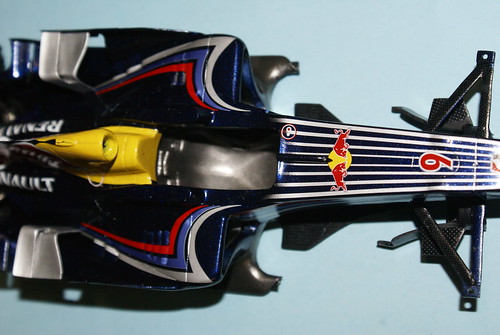
  6. Decals were applied and some had to be modified to represent the markings for the Singapore GP.
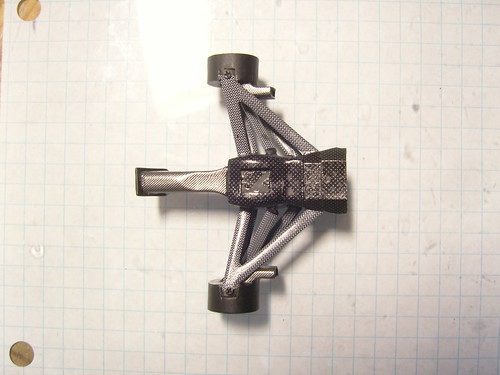
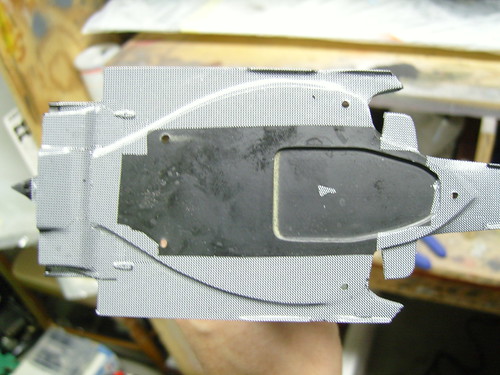
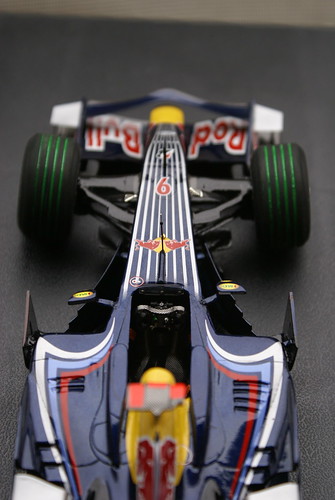
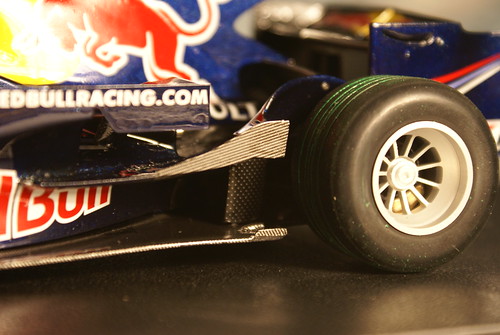
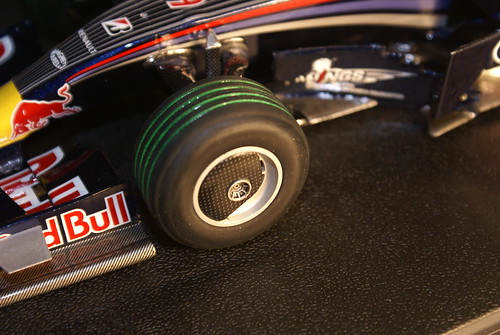
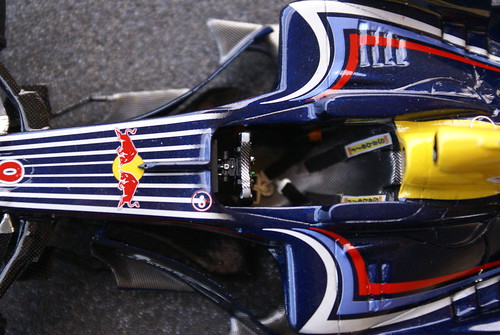
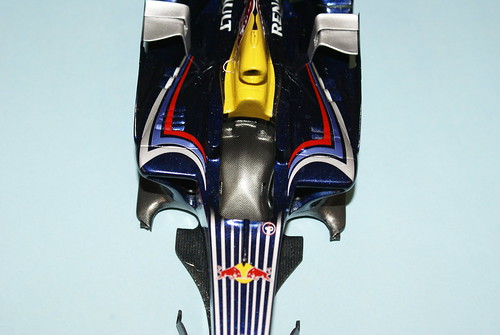
  7. CF was applied to the undertray and gearbox
  8. After 30 minutes in the dehydrator Tamiya Smoke was airbrushed over the CF to give it a darker look.
I also burn a hole in the front wing trying to solder the wing together.
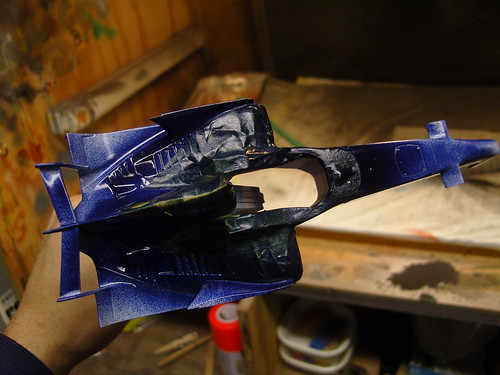
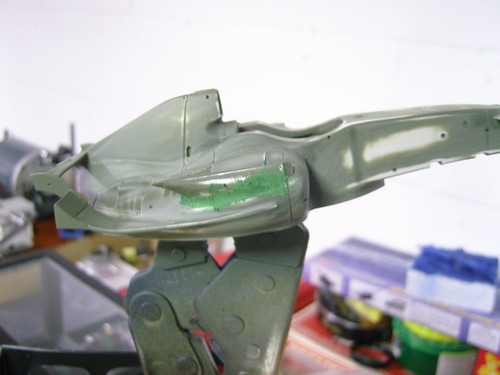
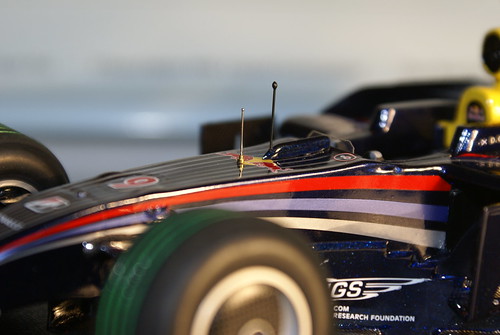
It was very odd as soon as the iron touched the area the part just melted.
Not sure why it melted but I'll be fixing that tonight.


Leia Mais…

Nico's Williams FW30 Part 2

Finishers Foundation White was put on after several coats of Mr White Surfacer.
The Foundation White was wet sanded and 5-7 light coats of Tamiya Pure White were sprayed on from the can.
I am making masks from Tamiya tape and will be painting the dark blue on today.


Leia Mais…

Tuesday, January 27, 2009

Nico's Williams FW30 Part 1

Here's the new lathe.
I'm very impressed with how easy it is to use.


Manufacturer: Studio 27
Information: Resin/White Metal- Curbside
Paint: Tamiya acrylics / Krylon semi flat black / Tamiya Sprays
Aftermarket Parts: Various Carbon Fiber Decals

On to the next build.
I am going to modify the standard Studio 27 kit to recreate the car as driven by Nico Rosberg at Singapore.

I am also going to create the lights using LED's and have the car displayed in a shadowbox that can hang on the wall.


Leia Mais…

Monday, January 26, 2009

Completed David Coulthard Red Bull

Here are some outdoor pictures that show the 100% completed kit.

http://www.flickr.com/photos/builder77/sets/72157611264906820/


Leia Mais…

Saturday, January 24, 2009

Red Bull RB4 Completed

Here are some quick pictures of the completed kit.
Still a few bits and pieces that I need to add but 99% complete.


Leia Mais…

Red Bull RB4 Part 9

Almost done!
I need to add a few PE parts and the mirrors and the kit is done.

I mounted the rear wing to the floorboard using the pin and shot all of it with clear together to add some extra support to the gearbox and wing section.

I'm very pleased with the result of the rear wing fix and glad to be done with this build!


Leia Mais…

Wednesday, January 21, 2009

Red Bull RB4 Part 8

Here is the seat finished.
It has SMS CF and MFH belts.
The material is more of a cloth like product that I purchased on Ebay.

Leia Mais…

Saturday, January 17, 2009

Red Bull RB4 Part 7

This is just a testfit to make sure the seat and everything still fits together.
I'll use Studio 27 seatbelts but the kit came with the wrong color belts, not a major issue but something to watch if you build the kit.

Gloss aluminum was used for the silver winglets.
All CF applied to the various parts.

It's so cold I dont want to clear the car so I will get all of the other winglets on the car before the clear. This will make polishing risky but not impossible.

I got my new lathe yesterday and it's amazing how easy it is to make parts right out of the box! We'll see if it makes me a better builder!


Leia Mais…