


Monday, September 17, 2012

Tuesday, September 4, 2012
New Display Case
Thanks to IKEA I have a new display case for my some of my kits.
You can also see the updated MP4/25 here with decals on.
The case is smaller than I thought so I may need another one!


Monday, August 13, 2012
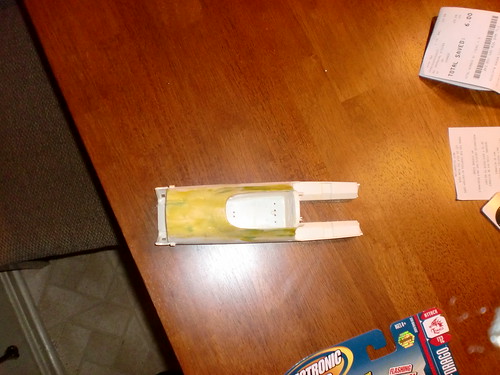
Porsche 911 GT3R Part 1
Painting as the Brumos Porsche from 2011 VIR.
I took my son to this race and we sat in the rain and got some great shots of this car in the end.
My son got to meet Wayne and Ricky Taylor and they let him sit in the car!


MP4-25 Part 1
Started with Tamiya primer followed by mist coats of black followed by Alclad Chrome in very light coats. Very impressed with the results.
Here is the first light coat of Chrome.

With Clear applied:


Sunday, July 22, 2012


Monday, July 2, 2012
Honda RA272 Part 1
1965 Honda RA272
Manufacturer: Tamiya
Information: Plastic
Paint: Tamiya lacquer / Tamiya acrylics / Krylon / Finishers
Aftermarket Parts: Photo Etched Details/MFH Hoses
Paint: Tamiya lacquer / Tamiya acrylics / Krylon / Finishers
Aftermarket Parts: Photo Etched Details/MFH Hoses
Photos:Flickr Photo Set I started watching the 1966 movie Grand Prix this weekend and got in the mood for an older F1 build.I didnt want to open the MFH Lotus or Eagle so went for the Tamiya Honda RA272.


 Leia Mais…
Ferrari F10 Part 2
The area around the engine was covered in gold foil from a cigarette pack and the engine has been cleaned after the resin copy was made and painted.
I'm going to make the car in "raced" conditions with grime and built up rubber on the car.
I was testing how to do this and found that leaving acrylic paint out to dry for about 45 minutes makes it thick and sticky just before it completely dries and can be flicked onto the car to make it look like rubber build up.
You can see some of it on the drivers left that i tested with.

Sauber C30 Part 3
Small update
The resin needed cleaned and filled in with putty a second time before the shape was reworked again.
I'm going to use the Top Studio electronic connectors on the underside of the radiators and display the model with the floorboard off like the car is being prepared for the race weekend.
The nose will also be off the car so research has started on that as well.

Saturday, June 30, 2012
Sauber C30 Part 2
Radiators are copies of the Ferrari F10 and reworked to fit the Sauber shape.There are a lack of reference pictures available so I'll be doing the best I can from the pictures of the other cars.The resin ended up having a lot of bubbles in it so I used Tamiya Polyester Putty to fill in the holes and clean up the piece. These will be primed and painted black before the CF decals are put on.


 Leia Mais…
Thursday, June 21, 2012
Ferrari F10 Part 1
2010 Ferrari F10Manufacturer: FujimiInformation: Plastic
Paint: Tamiya lacquer / Tamiya acrylics / Krylon / Finishers
Aftermarket Parts: Carbon Fiber Decal / Photo Etched DetailsPhotos:Flickr Photo Set
This kit has a lot of filling needed to remove the seems as you build the nose and various other body parts.Tamiya 2 part Polyester Putty was used to fill the seems with Tamiya white primer followed by Pure White and Italian Red. Carbon Fiber decal was added to the floorboard and is currently in process to be finished.This will be covered in the the semi gloss clearcoat with a layer of smoke added to darken the carbon color.


Sauber C30 Part 1
2011 Sauber C30Manufacturer: FujimiInformation: Plastic
Paint: Tamiya lacquer / Tamiya acrylics / Krylon / Finishers
Aftermarket Parts: Resin Copy of F10 Engine / Carbon Fiber DecalPhotos:Flickr Photo Set
This kit was started by making a copy of the Ferrari F10 Engine.The rest of the internal parts will be made from scratch.


Sunday, January 30, 2011
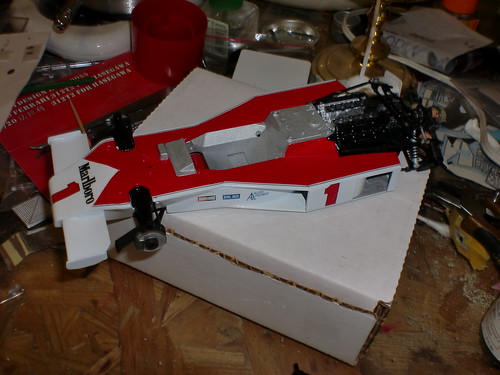
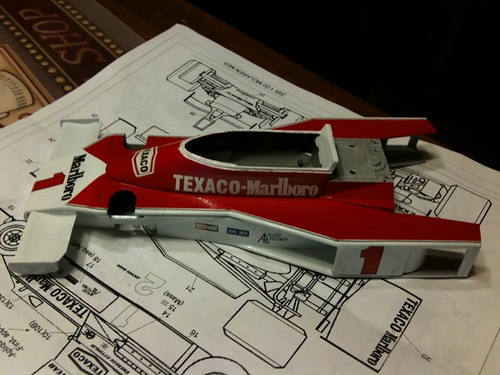
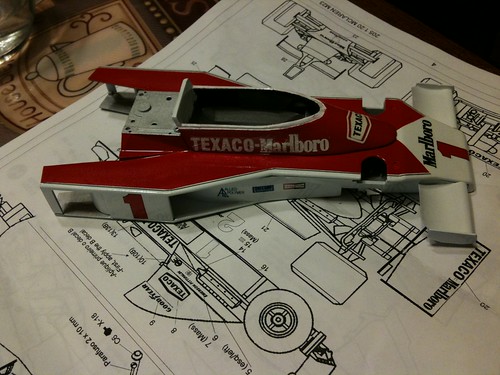
1975 M23 Part 3
Clear was polished and buffed out before the body was glued together using both 5 minute epoxy and CA in a few places.
The engine had to be glued in place at the same time making this a tricky step but everything turned out looking pretty good.
I had to repaint the rear wing after a problem with my masking pulled off part of the white paint. I'll shoot that with clear and finish up the kit this week before turning my attention back to the Eagle.
Progress has been made on the late season F60 as well and I should be able to finish that within the next few weeks as well. Its nice to see some progress on the builds again!

Sunday, January 23, 2011
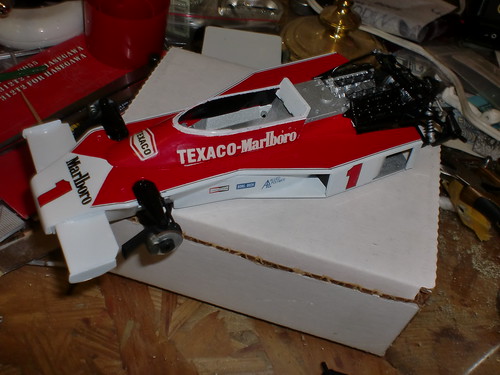
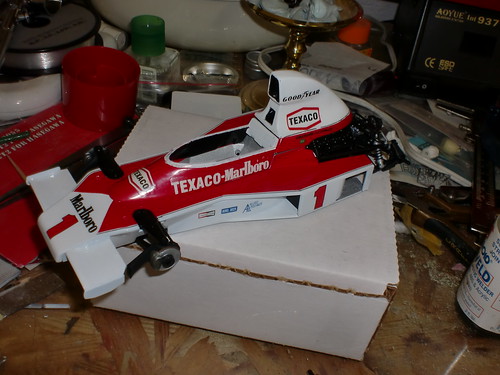
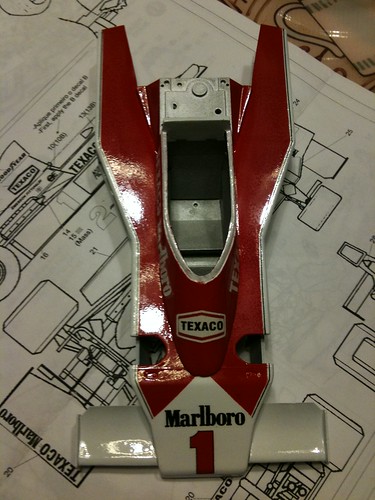
1975 M23 Part 2
I used PPG clear on this kit and it turned out great.
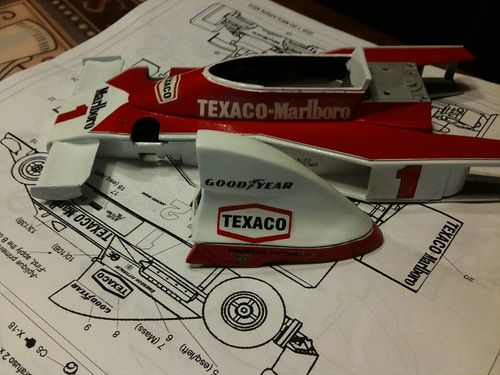
After a light wetsanding the decals were put on.
There are several major issues with these old and somewhat lower quality decals.
You can see how the drivers right decals have wrinkled up and I'm going to pull that layer off with some tape and see how it looks.
 Leia Mais…
Sunday, January 9, 2011
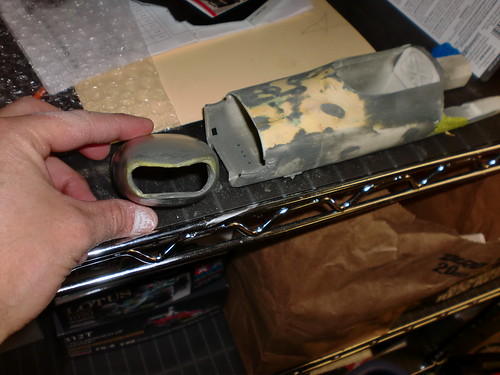
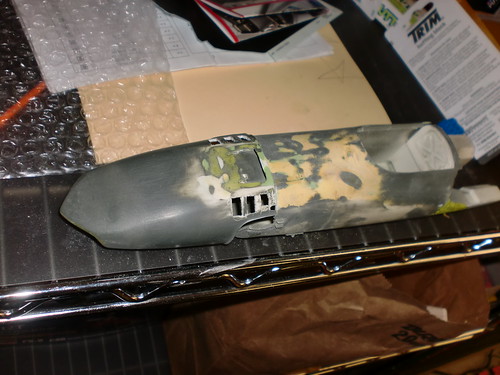
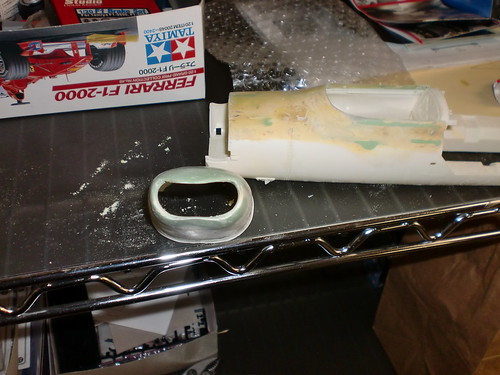
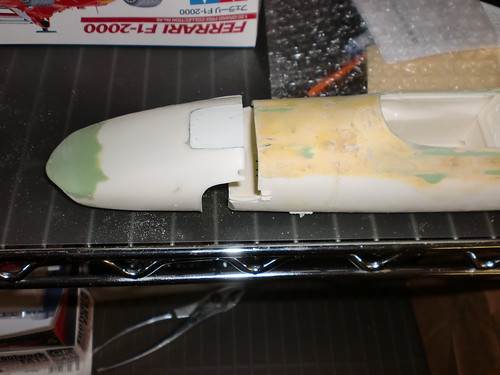
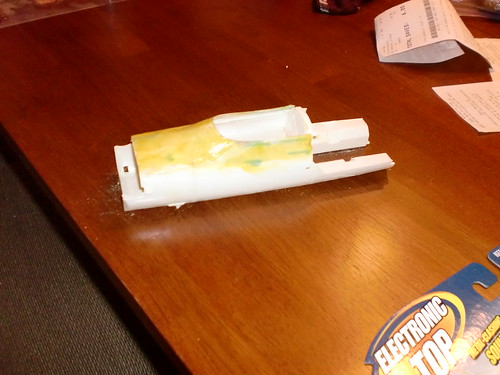
1/12 Gurney Eagle Conversion
1967 Eagle / Gurney - Weslake V12 Manufacturer: Tamiya - 1/12 Honda RA 273Information: Plastic
Paint: Tamiya lacquer / Tamiya acrylics / Krylon / Finishers
Aftermarket Parts: Putty...lots of puttyPhotos:Flickr Photo Set
Good progress made so far. Plastic added to the front nose and lots of putty to even out the nose cone.Vents cut out on the front half of the nose cone were a bit of a pain to do but not as bad as trying to build up the body around the driver. Not sure how I'm going to do the engine yet as I continue to hunt for a 1/12 built Matra kit. I just hate the idea of buying a new Matra kit to just pick the engine out! More putty work to do around the driver as well as some body work around the engine. I'm also not sure on the color of blue so if anyone has any ideas please let me know.
Paint: Tamiya lacquer / Tamiya acrylics / Krylon / Finishers
Aftermarket Parts: Putty...lots of putty
Subscribe to:
Posts (Atom)
