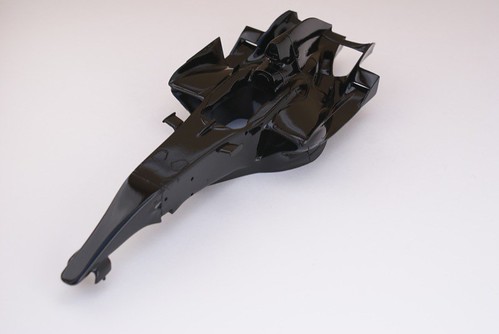
Manufacturer: Revell-Monogram Kit #RMX-2828
Information: Plastic - full detail
Paint: Tamiya acrylics / Krylon semi flat black / Finishers Light Blue
Aftermarket Parts: Various photo etched parts / Bare Metal Foil
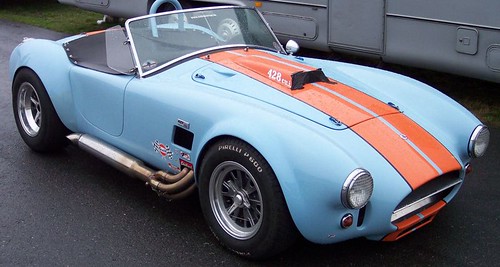
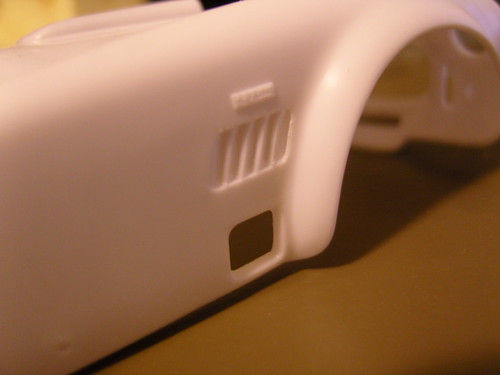
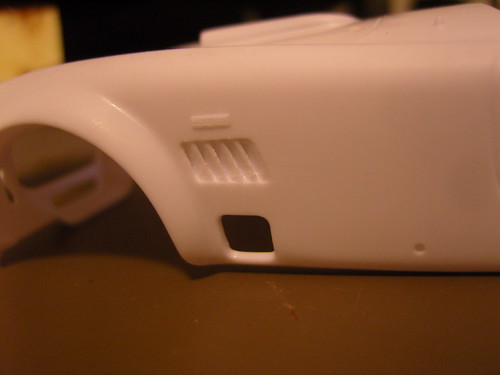
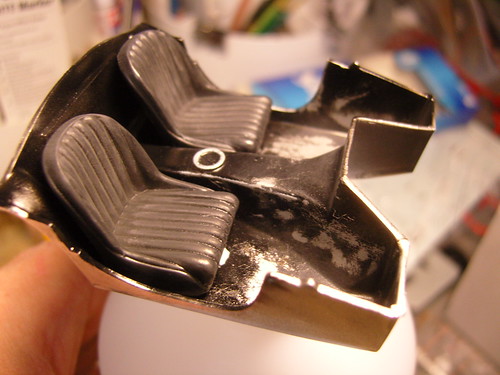
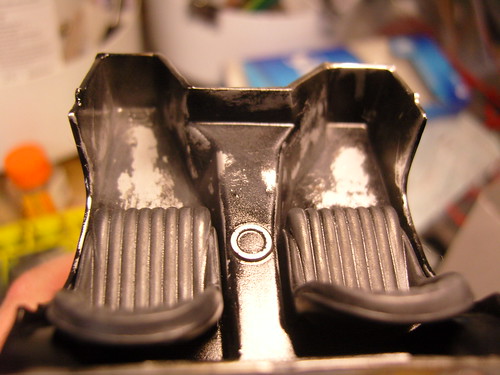
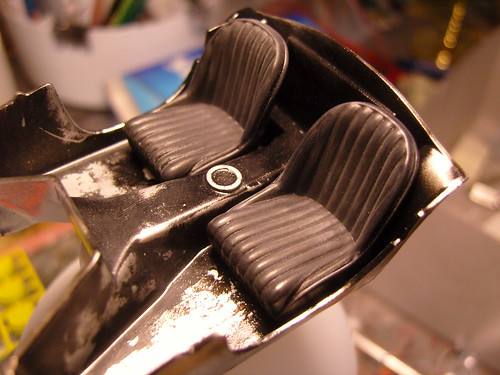
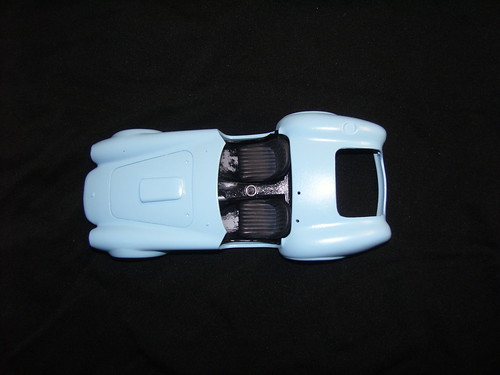
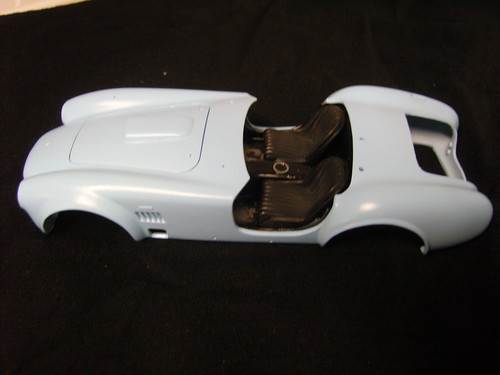
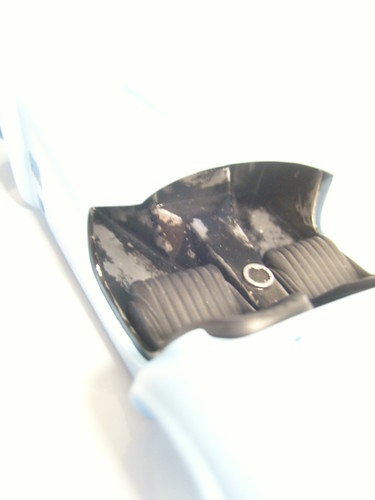
Manufacturer: Revell-Monogram Kit #RMX-2828
Information: Plastic - full detail
Paint: Tamiya acrylics / Krylon semi flat black / Finishers Light Blue
Aftermarket Parts: Various photo etched parts / Bare Metal Foil
Manufacturer: Fujimi Kit #09032
Information: Plastic - full detail
Paint: Tamiya acrylics / Krylon semi flat black / Rosso Corsa Ferrari Red / Vallejo Model Air acrylics
Aftermarket Parts: Various photo etched parts / Bare Metal Foil
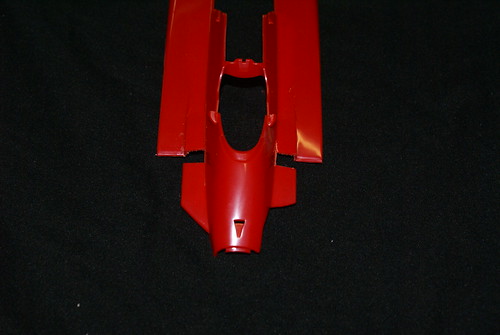
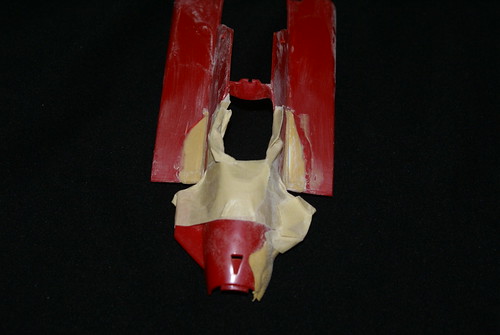
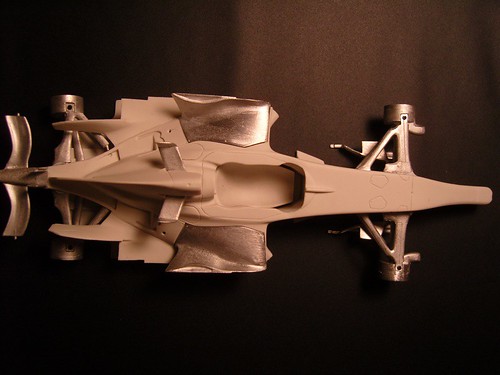
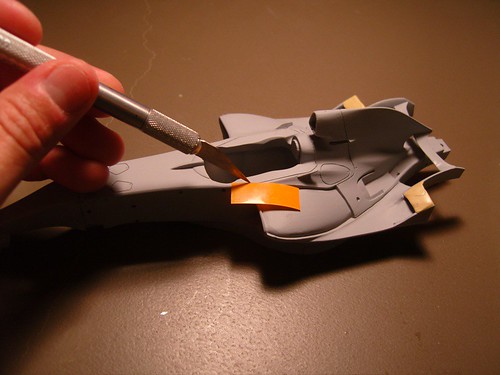
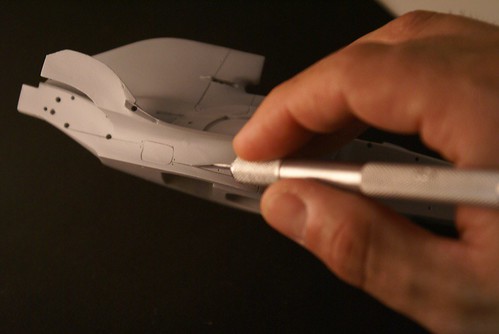
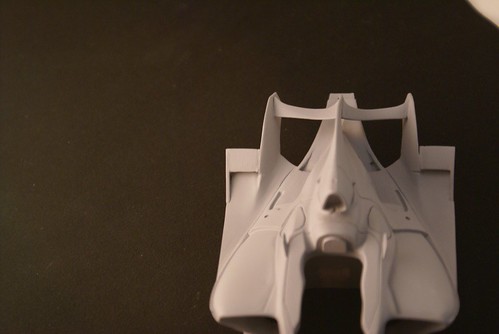
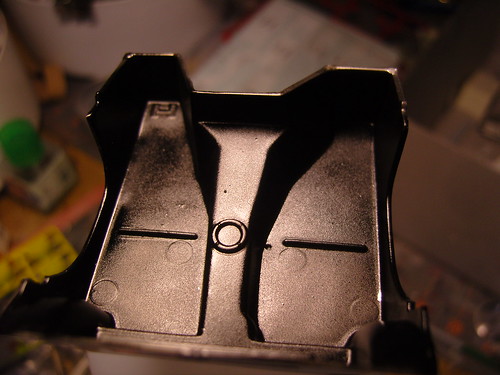
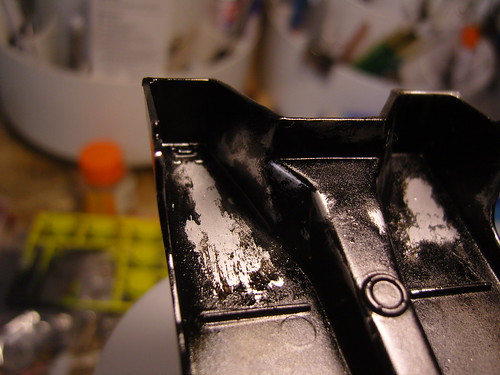
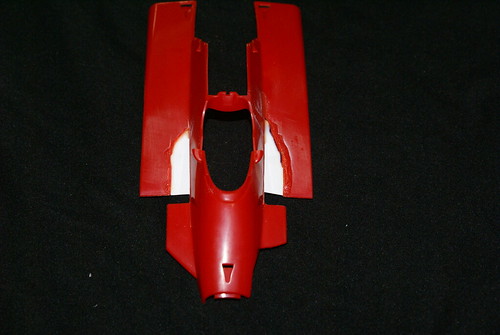
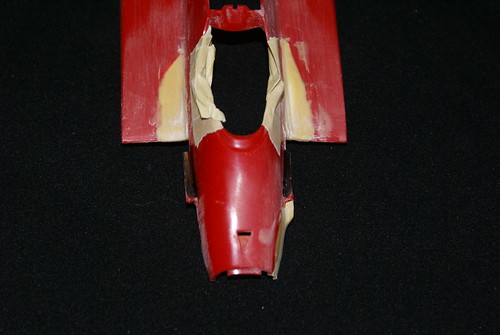
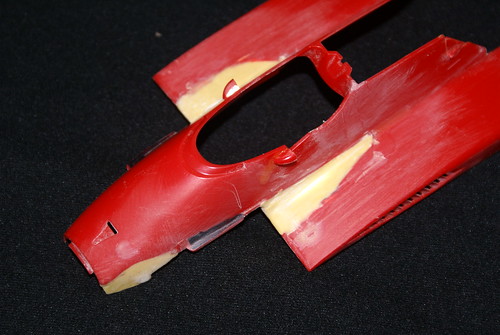
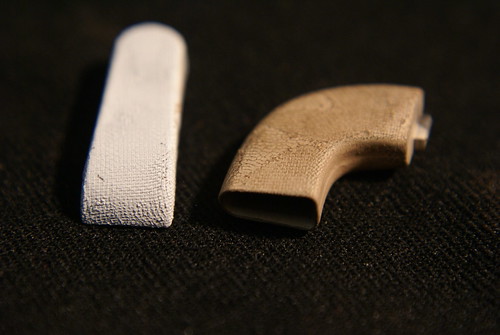
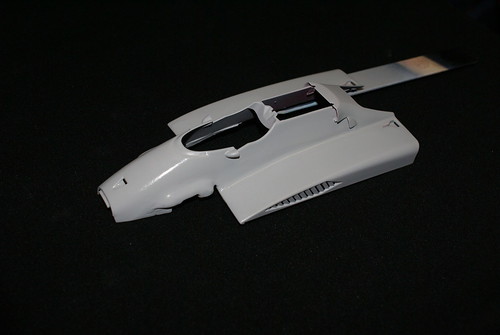
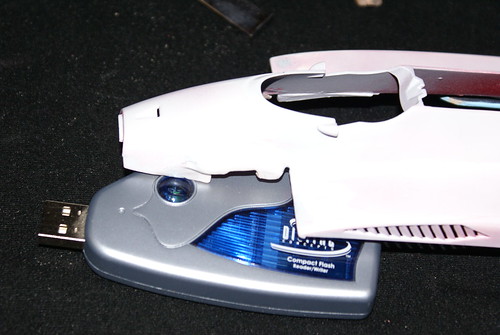
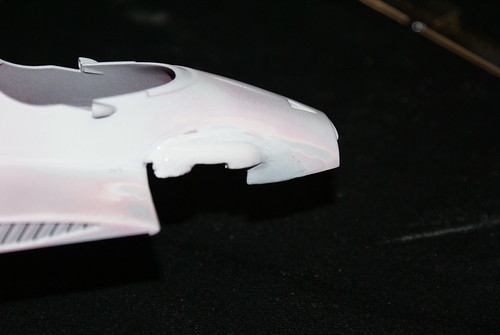
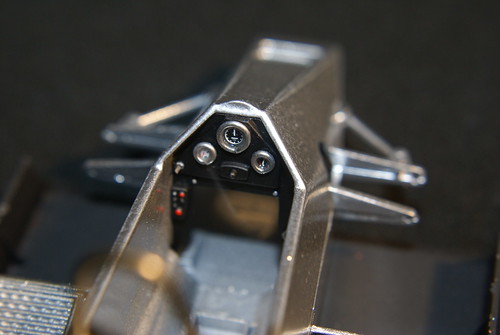
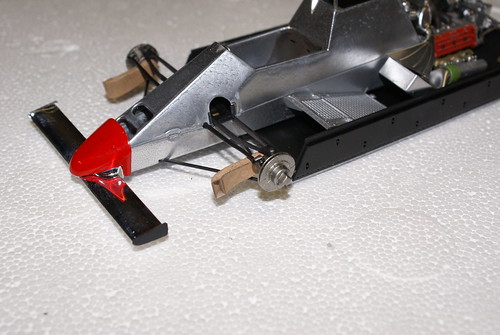
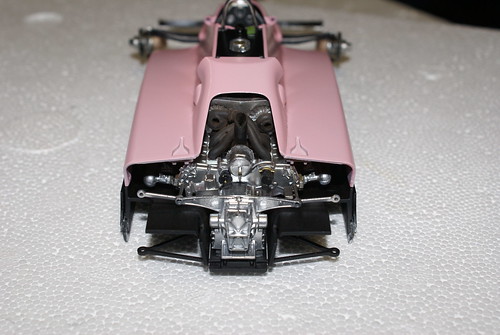
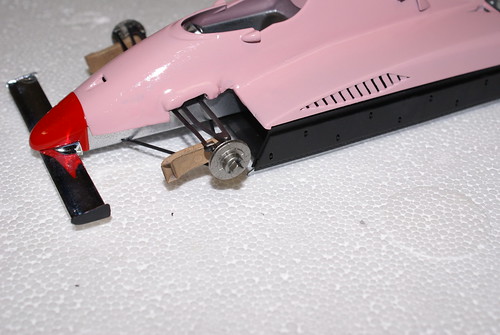
When I purchased this kit I put it away for a while as I finished some of my other in progress kits. When I did finally open it I found that the kit was not molded correctly and was missing the left front section of the nose. Because of the cost to get a replacement body I decided to modify the kit and create the car driven by Mario Andretti at Monza.
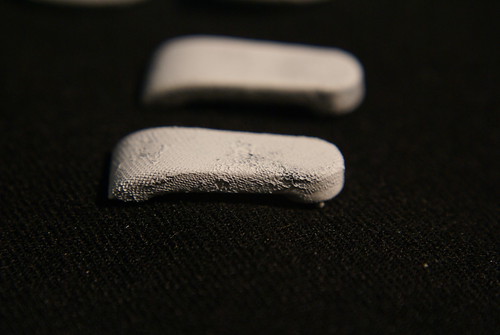
I have placed an order for Tamiya Polyester Putty and will finish the kit after I get that.
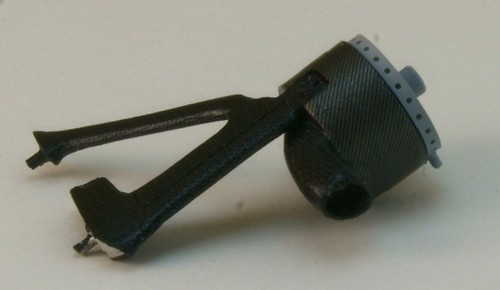
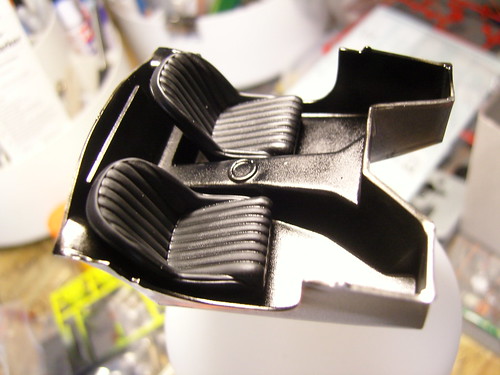
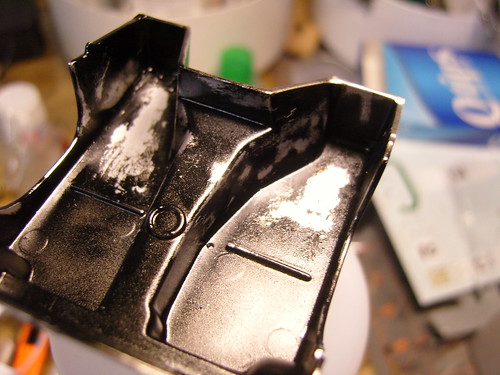
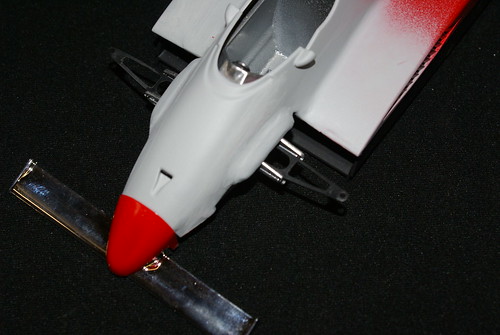
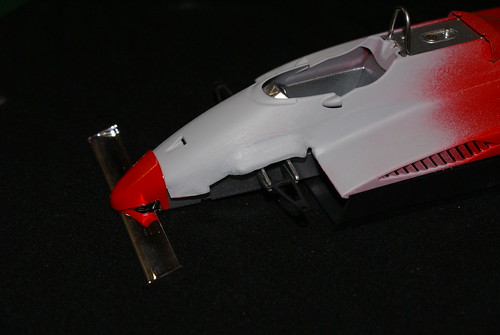
The following is a photo diary of the work done to this point.
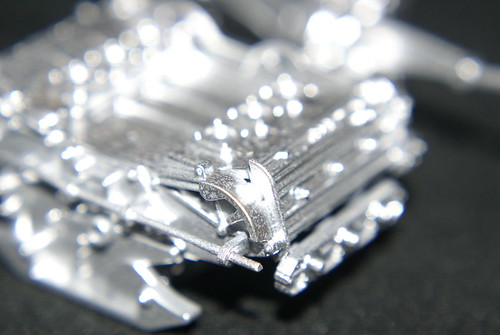
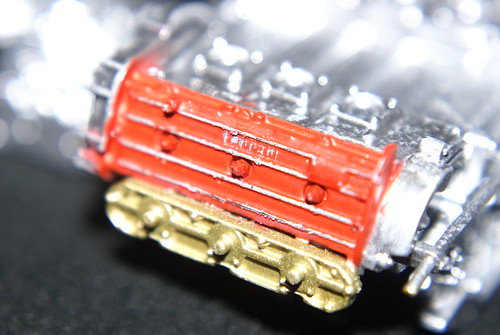
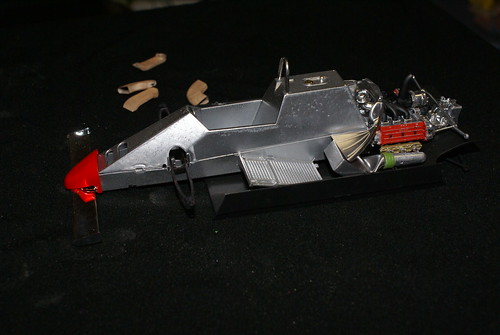

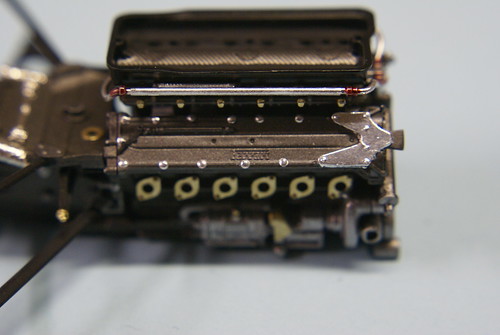
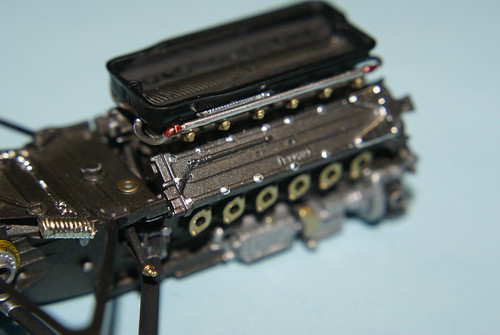
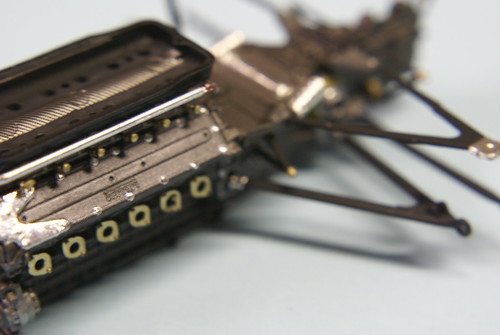
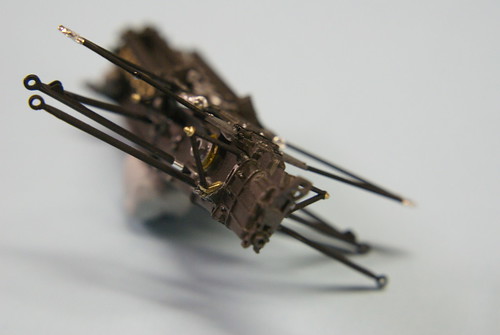
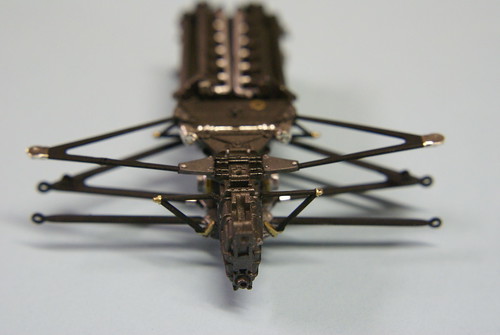
More work has been done on the engine.
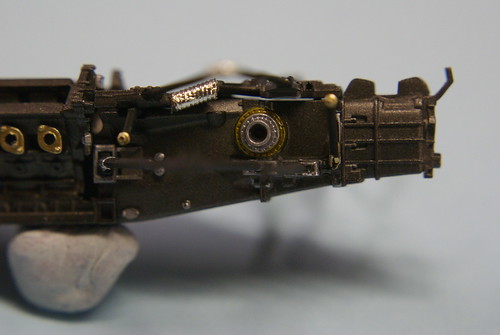
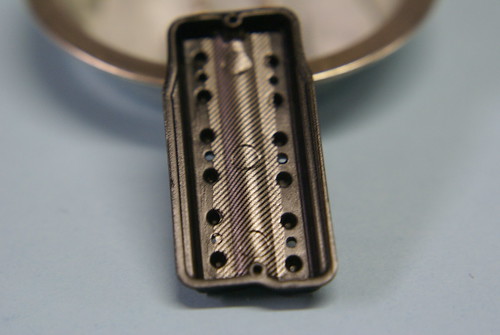
As you build it, you find more detail that is molded into the kit.
I need to paint the body to include the body parts that need to be added before the final suspension.
Tomorrow I'll start the prep work to get all body parts painted with Zero Ferrari Red.
I didnt notice a few areas on the Bare Metal Foil that need more work.
Gotta love macro shots that make your mistakes stick out!
Manufacturer: Fujimi Kit #090375
Information: Plastic - full detail
Paint: Tamiya acrylics / Krylon semi flat black / Ferrari Zero Paints / Vallejo Model Air acrylics
Aftermarket Parts: Scale Motorsports carbon fiber decals / Modelers carbon Kevlar decals / Various photo etched parts / Bare Metal Foil
This kit will be built with a few additions but for the most part Fujimi have raised the bar for 1/20 scale plastic formula one kits!
I have started with the engine and will be completing it before moving on to the rest of the car.
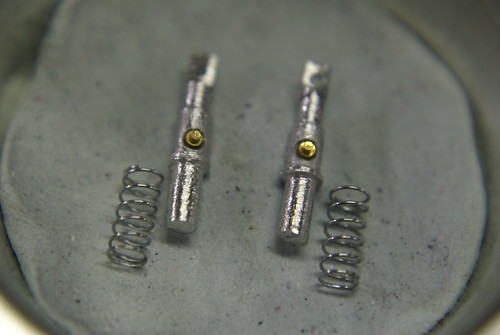
I decided to turn my own shocks rather than just add a spring to the kits.
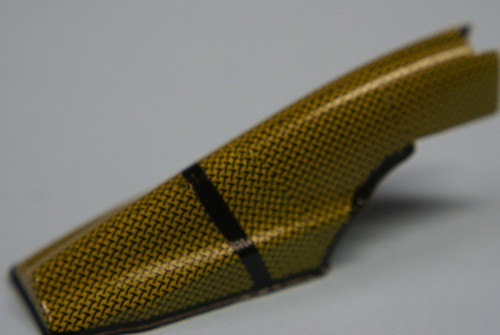
Started the CF process on a few parts.
This is Modelers Carbon Kevlar decal sealed with Testors metalizer spray.
After several coats, sections were taped off and painted with Tamiya black.
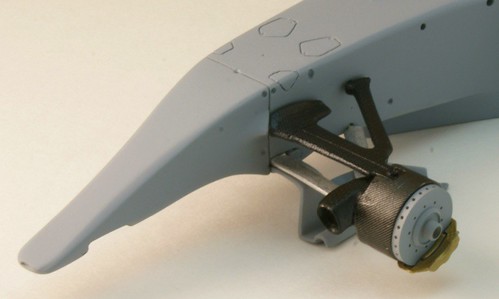
Manufacturer: Studio 27 Kit #: ST27-FK20208C Information: Resin Curbside
Paint: Tamiya acrylics / Krylon semi flat black / Spaz Stix / Chrome from webber plastic models
Aftermarket Parts: Scale Motorsports Carbon Fiber Decals
Pre-Build
All multimedia kits require several test fitting of parts and many times reshaping the metal parts that are stuffed in a bag and bent out of shape. Prior to this test fit all parts are sanded and washed. Resin parts are scrubbed with a toothbrush and aircraft remover is used to clean any residue from all resin parts.
This kit wasn’t that bad and required only two test fits to set the ride height and shape the metal parts. The test fit is done using small amounts of CA glue to hold all of the parts in place. It is during this test fit, that parts that can be assembled are glued with either CA glue or 2 part epoxy.
The kit is disassembled and all holes are drilled out slightly larger than needed to account for the buildup of paint that will occur throughout the building process.
The Build
Parts are primed using automotive sandable primer and additional cleanup of the parts including filling holes with putty , removing mold lines and shaping of parts is completed. This kit was very straightforward and required very little work to get the body ready for painting.
Parts such as the suspension and undertray were primed, cleaned, and painted with Krylon semi flat black paint before receiving SMS Carbon Fiber decals. Templates for each part were made from Tamiya masking tape to ensure the best fitting , and least amount of wasted decals. Solvaset and Mr Mark Softener were used to get the decals to conform to the many curves on the parts and after 3 days a clearcoat (Testors Metalizer Sealer) was airbrushed over the decals.
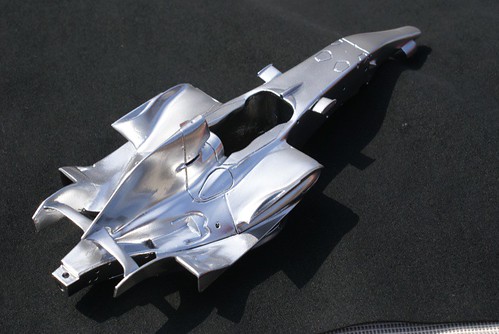
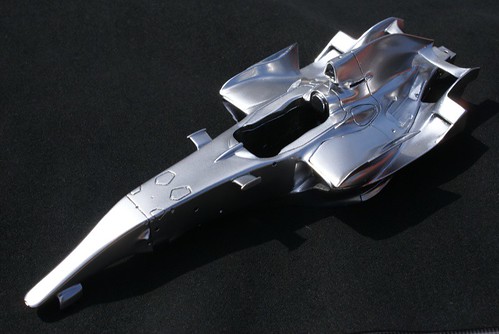
The body was primed and painted gloss black as a base for the chrome paint. The chrome was airbrushed on and allowed to dry for 7 days to ensure it didn’t rub off. This particular paint came with its own clear that had to be applied so the finish wouldn’t become dull. The paint was buffed out and the decals were applied.
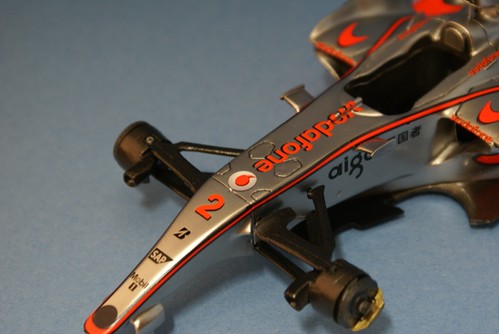
The florescent orange decals on this kit were extremely brittle and I had a few problems with the decals on the side cracking because of the shape. If I had to do it again I would use the decals as a template to create a mask and paint the orange on…oh well maybe on the MP4/23!
The orange was painted using a new paint for me, Spaz Stix Florescent Orange. All decals were applied with no major issues and I decided not to do a final clear coat to prevent the chrome from becoming dull.
Conclusion
After you’ve built a few of these Studio 27 kits you get the hang of them. They all pretty much have the same fit issues and require the same amount of work to get a decent looking kit. While not 100% accurate most of the time they do make a nice addition to any collection.
Manufacturer: Model Factory Hiro
Kit #: K162
Information: Full Detail Ferrari 248F1 China GP
Pre-Build
This site will host the build reports for my plastic models.
We'll see how I do keeping up with it.